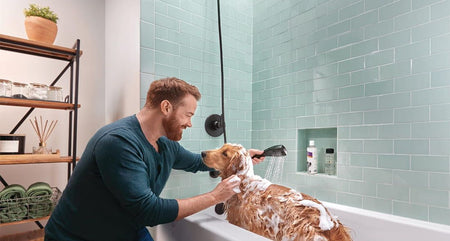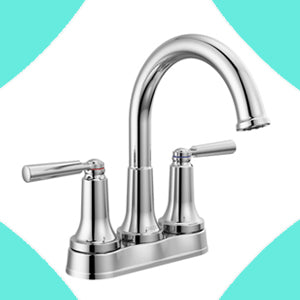


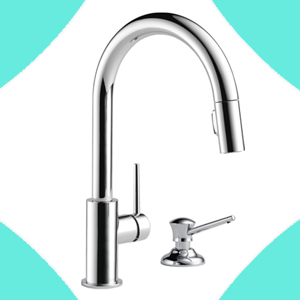
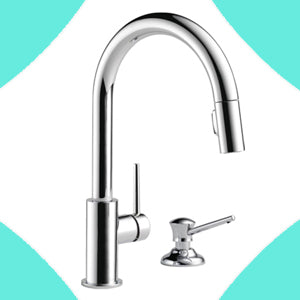
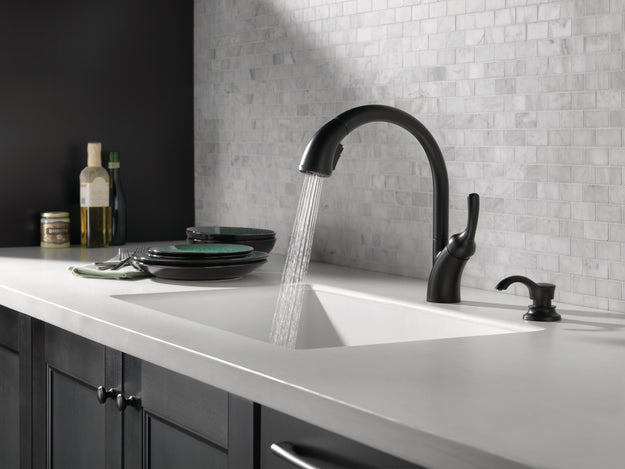
Don’t underestimate how helpful of a tool a single handle pull-out faucet can be in your kitchen. The single spout and spray wand that pulls out from the front are really useful for washing dishes and other chores. The installation is easy and only requires a few tools to get it done. Here are the steps to install.
- Phillips screwdriver (a long one preferably)
- Adjustable wrench
- Safety glasses
- Flashlight
- Pot or a bucket
- Towel
- Included tools from Delta that are in the box
- Silicone (if your countertop isn’t smooth)
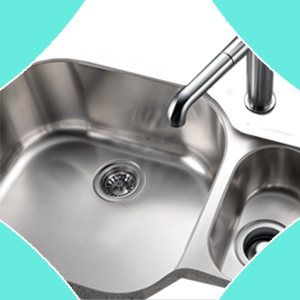
Make sure the water supply lines under the sink are turned off and that all items under the sink are cleared away so you can move around easily.
First, feed your supply lines through the gasket and trim ring. There should be two tabs on the trim ring. Line them up as you push it up on the shank of the faucet. Then, feed the lines down through the mounting hole on the sink.
Now pop down under the sink and feed the mounting washer and mounting nut over the end of the sprayer hose and supply lines. Make sure to keep the tags intact as they have important information about the make and model of your faucet. Push the washer and the nut up toward the bottom of the shank, making sure none of the hoses are pinched.
Hand tighten the mounting nut onto the bottom of the shank until it is snug against the bottom of the sink. To make sure it is centered, use the handle of the faucet as a center point. Grab your Phillips screwdriver and tighten the screws.
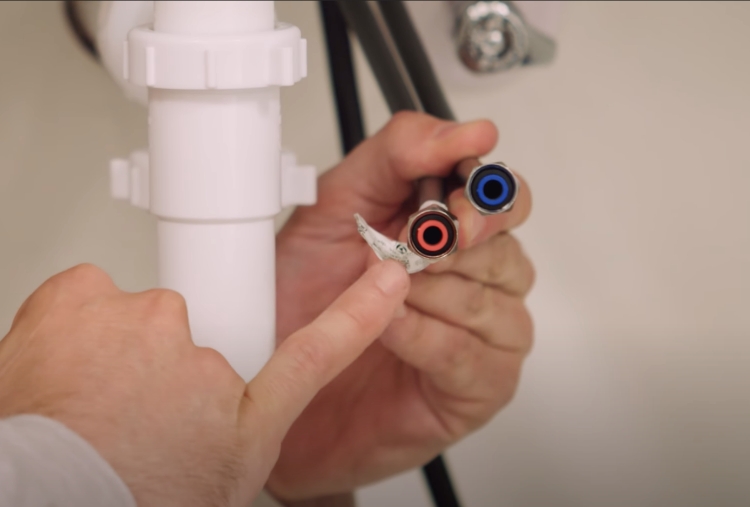
To connect the supply lines, look for the red (hot) and blue (cold) colored ends. These should match to your hot and cold water stub-out under the sink. In general, the cold stub-out will be on the right and the hot stub-out will be on the left.
Connect the cold water line to the cold water stub-out. If you have extra length in line, you can wrap it into a loop, but make sure the loop is no bigger than 8 inches wide. An alternative is to make a spiral pattern with the line. Hand tighten the line to the stub-out. Grab your wrench and give it one more revolution. You can track where you are at by looking for the diamond symbols on the nut as you use the wrench to tighten it 360 degrees.
Repeat the same steps on the other side with the hot water line.
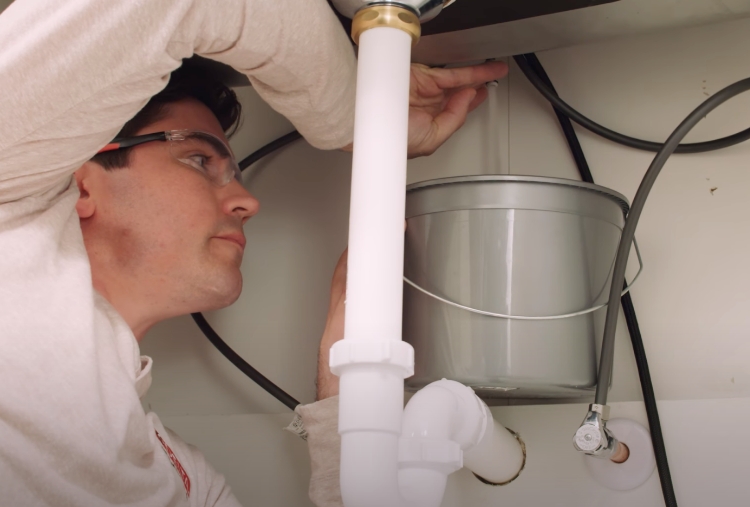
First, make sure the faucet is in the off position. Slowly turn on both the supply lines and check for leaks. Put a bucket under the outlet tube that is coming out of the sink and turn on the faucet for about 30 seconds.
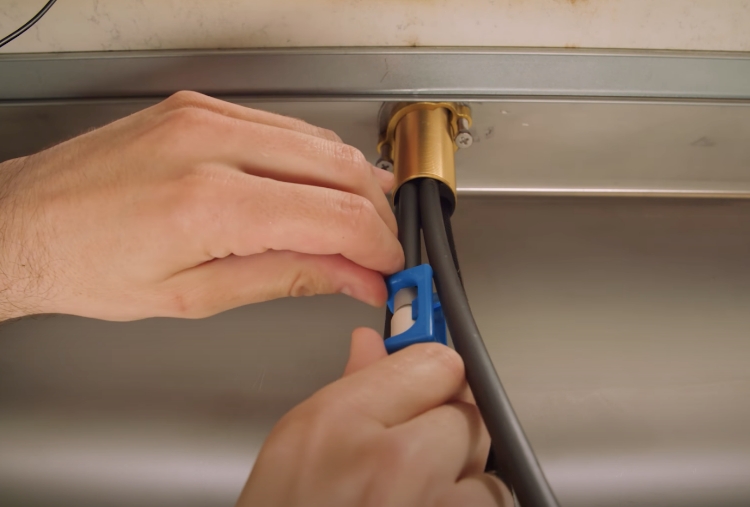
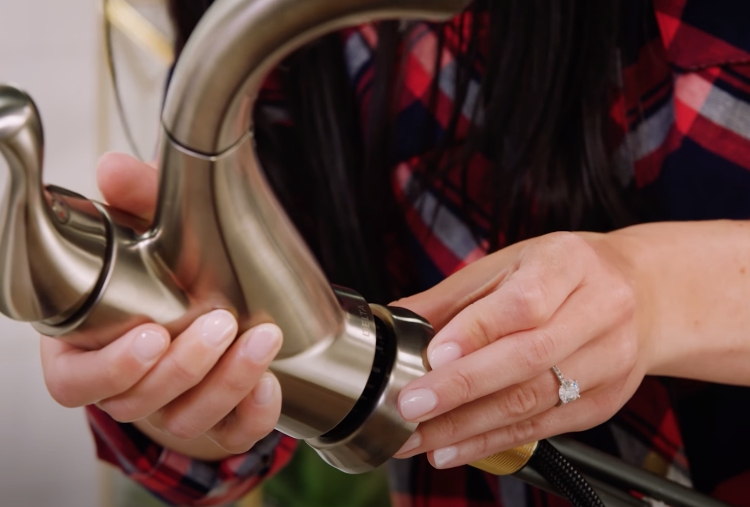
To connect the sprayer hose to the outlet tube, first, make sure the hose is free of the supply line. Grab the sprayer weight and feed the sprayer hose through it. Then, take the end and push it up onto the outlet tube. Take the blue clip that came in the box and clip it over the connection you just made. You’ll hear it snap into place, then give it a little tug to make sure it is connected. Check for leaks under the sink.
With very little effort, you can install a new faucet that will allow you to do anything around the kitchen, from the dishes to watering the plants with ease.